Add a blog post to your website from the Blog page of your admin. Posts show with the newest date first.
Before you start: sign in to your website's admin, and have your post ready to type or paste.
Open the Pages menu and select Blog. The Blog Posts list opens.
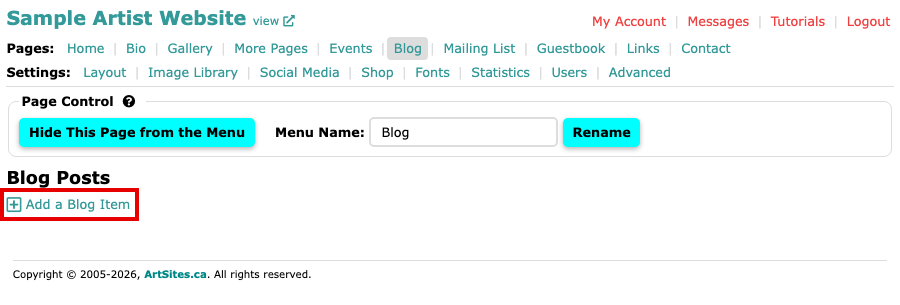
The Blog Posts list, empty, with the Add a Blog Item link under the heading Select Add a Blog Item. The Add Blog Item screen opens.
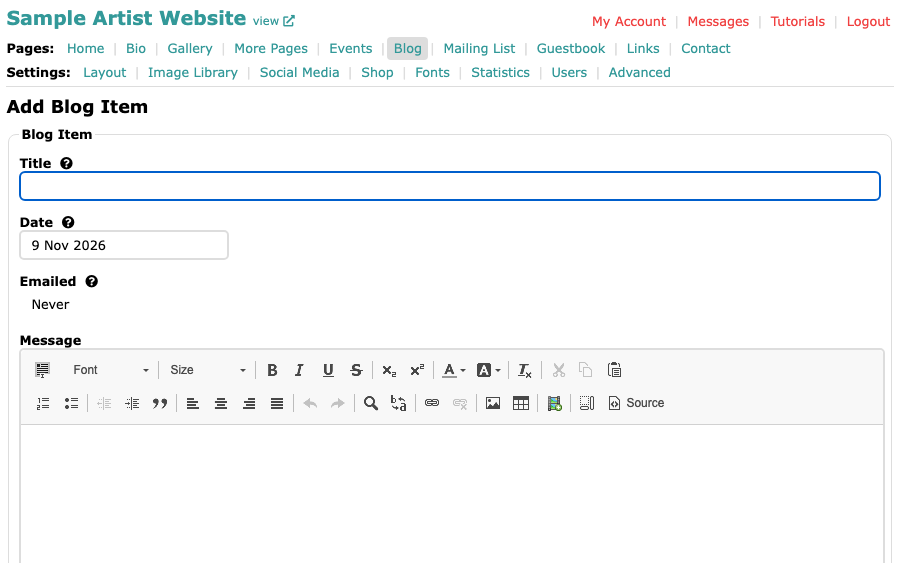
The Add Blog Item screen, with Title, Date and Emailed above an empty Message box Type your post's name in Title.
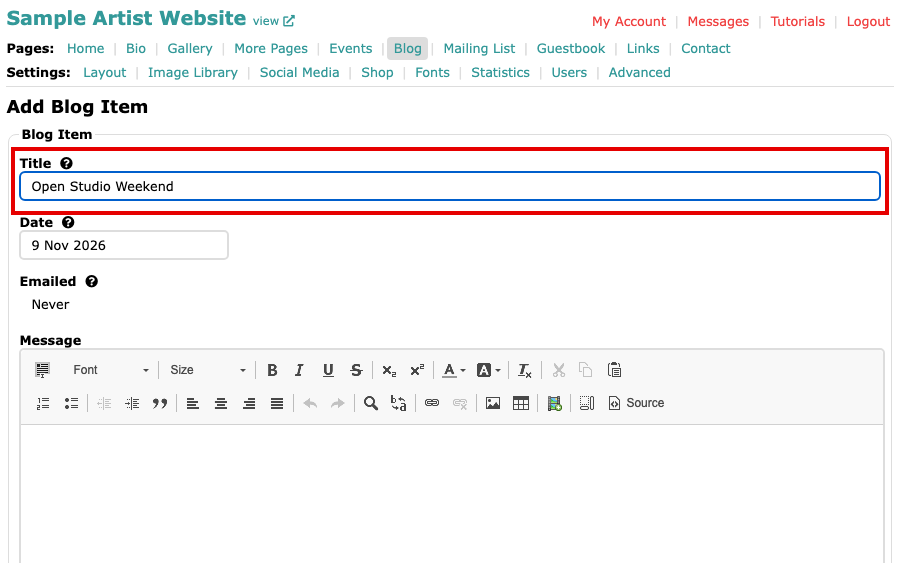
The Title field with a title typed in Check the Date. It starts as today's date, and it decides where the post sits in the list. Emailed says Never until you send the post to your mailing list.
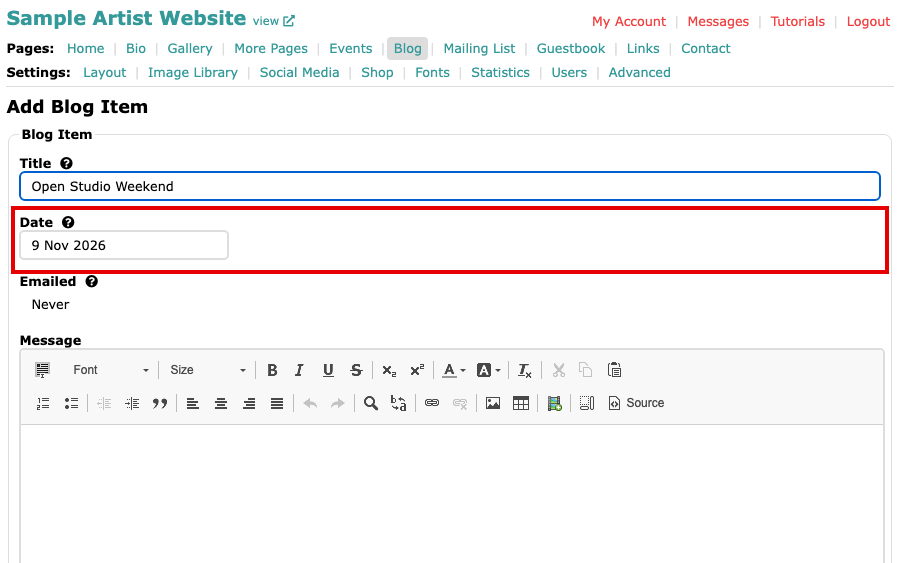
The Date field showing today's date, with Emailed set to Never below it Click in Message and write your post. It can hold text, images and video, using the same toolbar as your other pages.
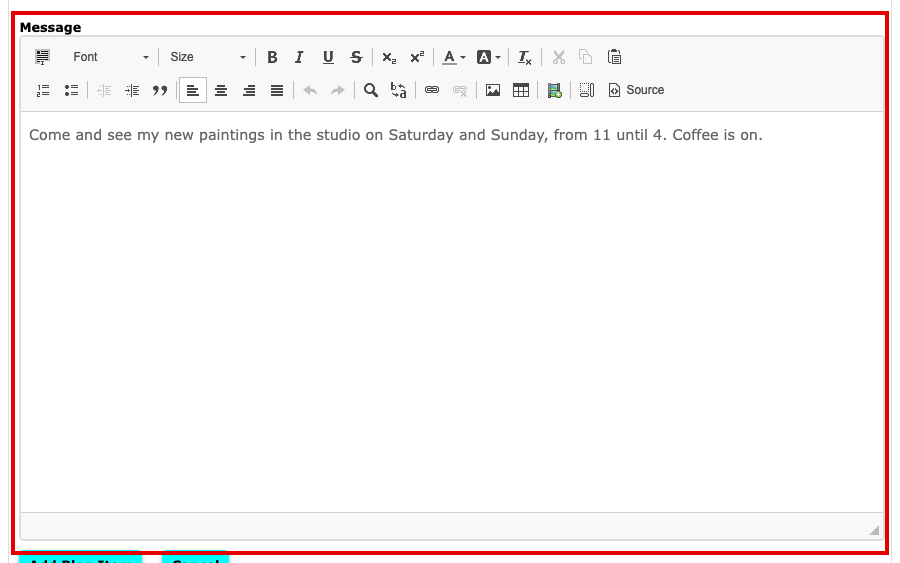
The Message box with the post's text typed in Select Add Blog Item at the bottom of the screen to save the post.
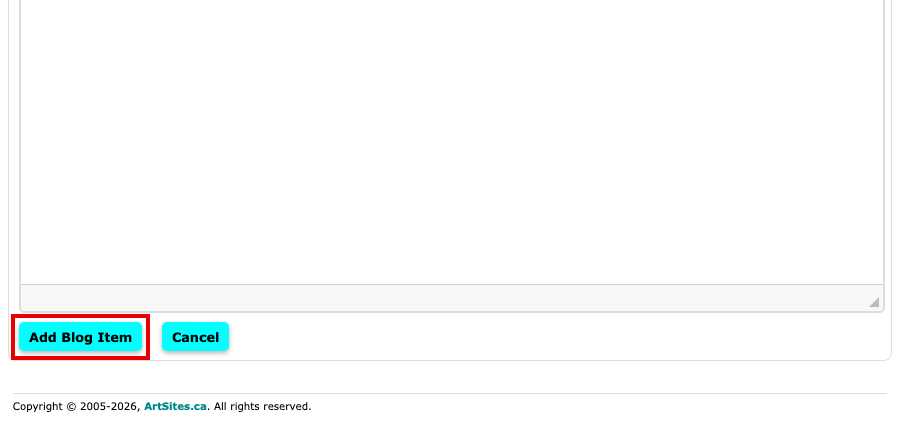
The Add Blog Item button below the Message box, next to Cancel The Blog Posts list now shows your post. Under it are Edit, Delete, Email Copy and Send to Mailing List.
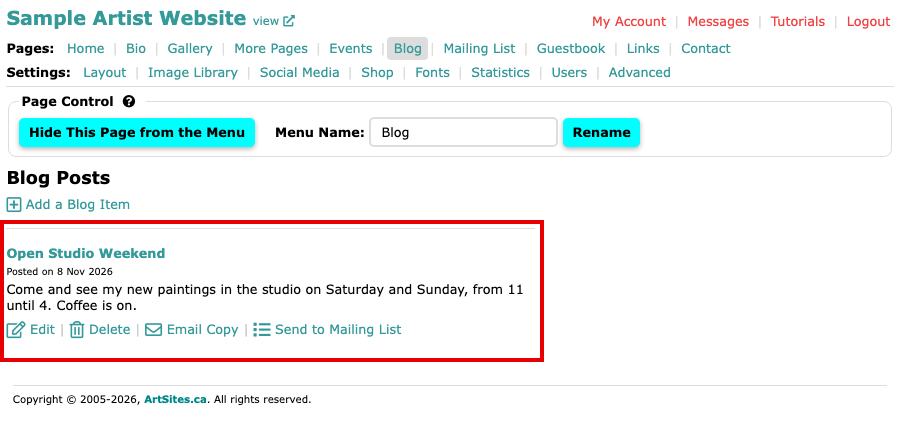
The Blog Posts list with the new post and its Edit, Delete, Email Copy and Send to Mailing List links Select view at the top left of the admin, then Blog in your website's menu, to see the post as visitors see it.
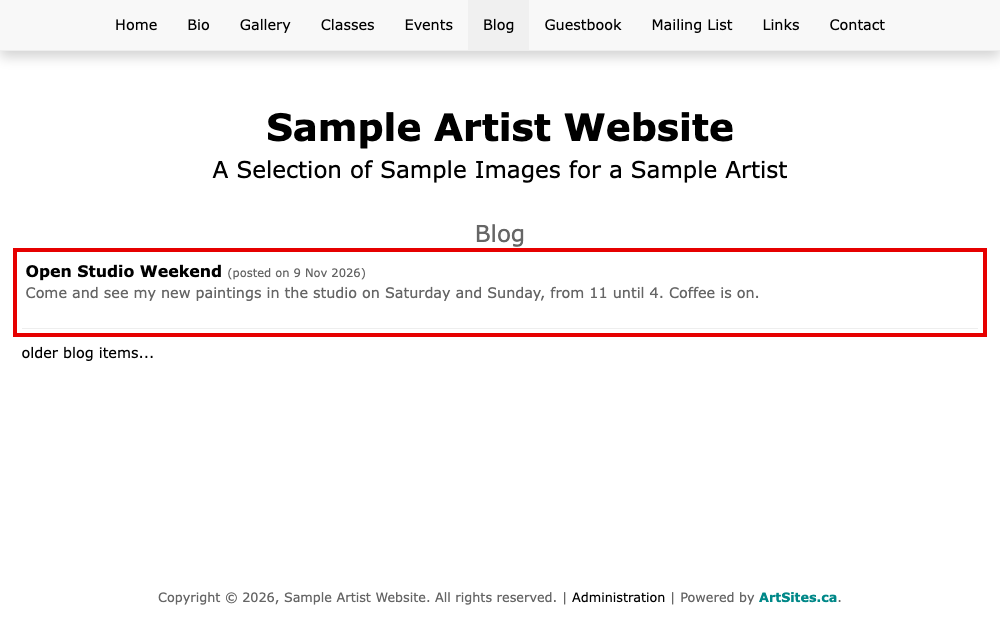
The Blog page of the website, with the new post at the top
Your post is on your website. To send it to the people on your mailing list too, follow Send a Blog Post to Your Mailing List.