Your Mailing List page is where you see the people who asked to hear from you, correct their details, remove them, and choose how your newsletters look when you send a blog post to them.
How people join
Visitors join from the Mailing List page of your website. It asks for a name and an email address and, unless you switch it off with Do not collect Postal Address information, a phone number and postal address too. Each time someone joins, we email a notice to your website's contact addresses.
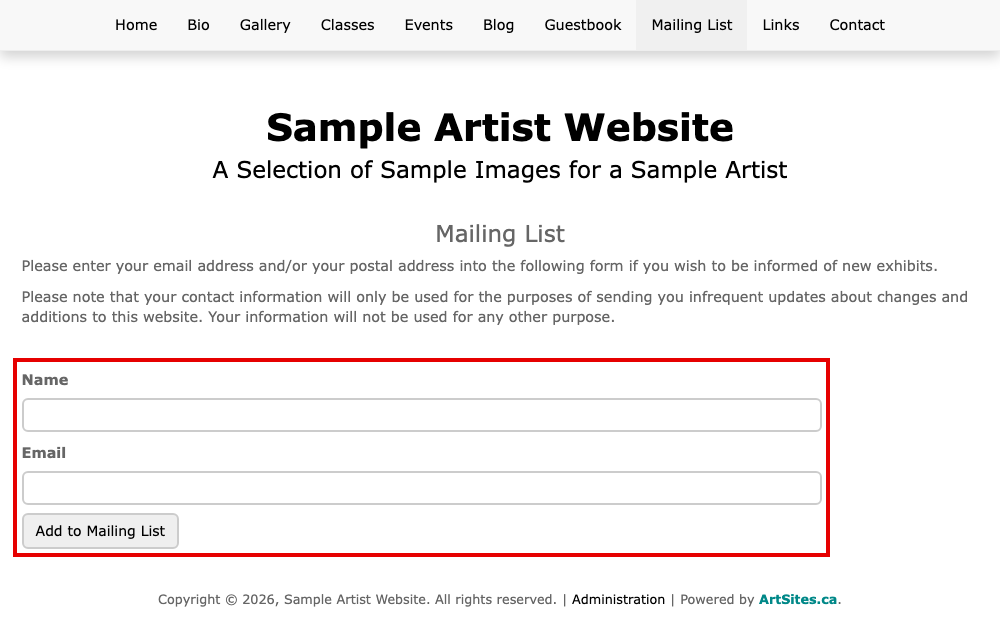
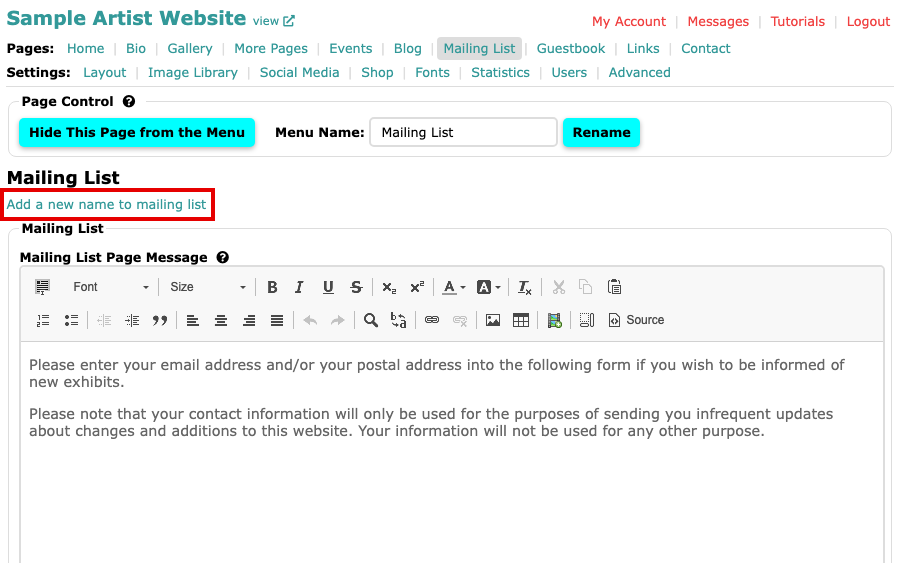
You can add a name yourself in the same way. Select Add a new name to mailing list at the top of your admin's Mailing List page, fill in the form that opens and select Add to Mailing List.
The list
Manage the Mailing List sits below the settings. It shows the Date each person joined, their Name and Email, and, if you collect postal addresses, their Phone and address. Select an email address to write to that person.
- Correct an entry: select the pencil icon at the left of the row. Edit Mailing List Entry opens; change the details, then select Update Mailing List Entry.
- Remove someone: select the bin icon at the left of the row, then confirm in the box that asks "Delete ... from database?". Remove people who ask to be taken off. Every newsletter tells readers to reply with "unsubscribe" in the subject line.
If nobody has joined yet, the list says so.
Settings on this page
- Mailing List Page Message: the words above the sign-up form on your website. Leave it empty to show our default message.
- Do not collect Postal Address information: check it to ask only for a name and an email address. Select Update to save.
- Override the Default Newsletter Title: newsletters start with "The Latest from" and your website's title. Type your own words here to change that, or type
noneto leave the title out. - Newsletter Send from Email Address: the address people reply to. It lists the verified email addresses of your website's users; to offer another, add that person on the Users page of the Settings menu first.
Select Update after changing any of these.