Use a table when you want words or images to line up in columns, such as a price list or a row of images. A table keeps things lined up better than the space bar can.
Open the page, such as Bio in the Pages menu, and click in the text box where the table should go.
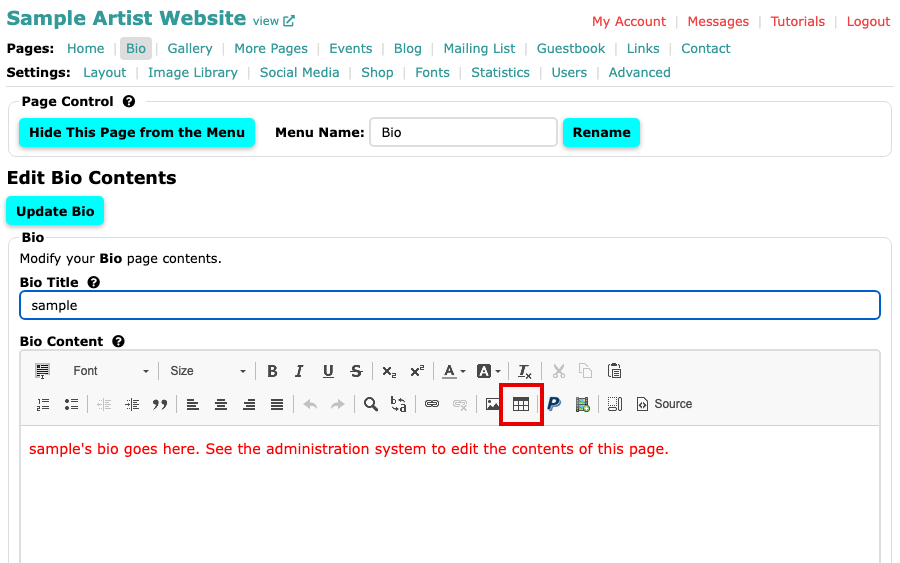
The Bio page with the content editor open Select the Table button in the editor's second row. The Table Properties box opens.
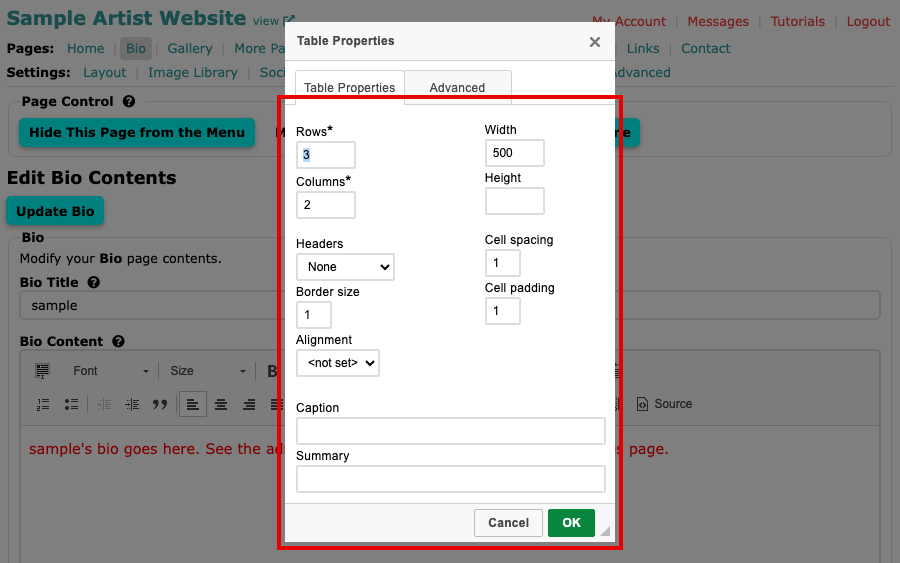
The Table Properties box with Rows, Columns, Headers, Border size, Alignment, Width, Height, Cell spacing and Cell padding Type the number of Rows and Columns you want.
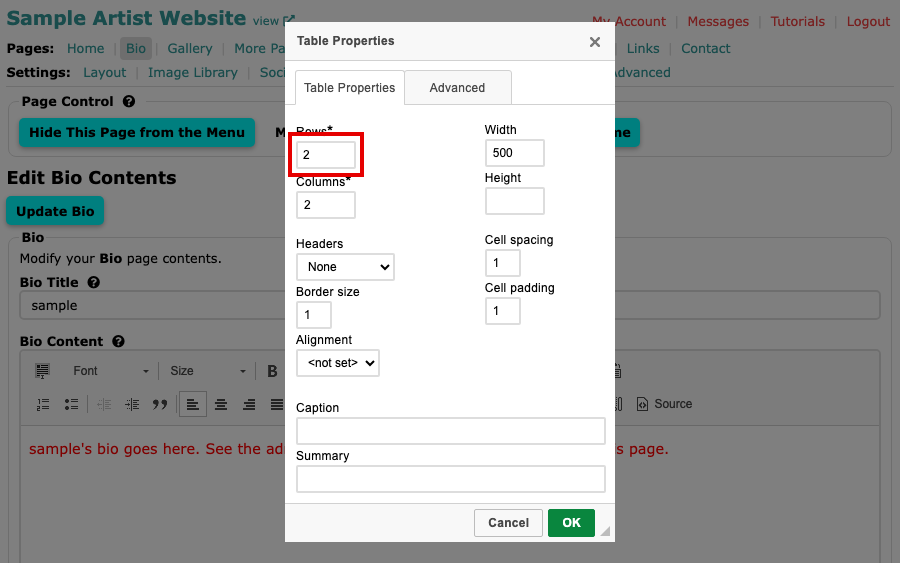
The Rows box showing 2 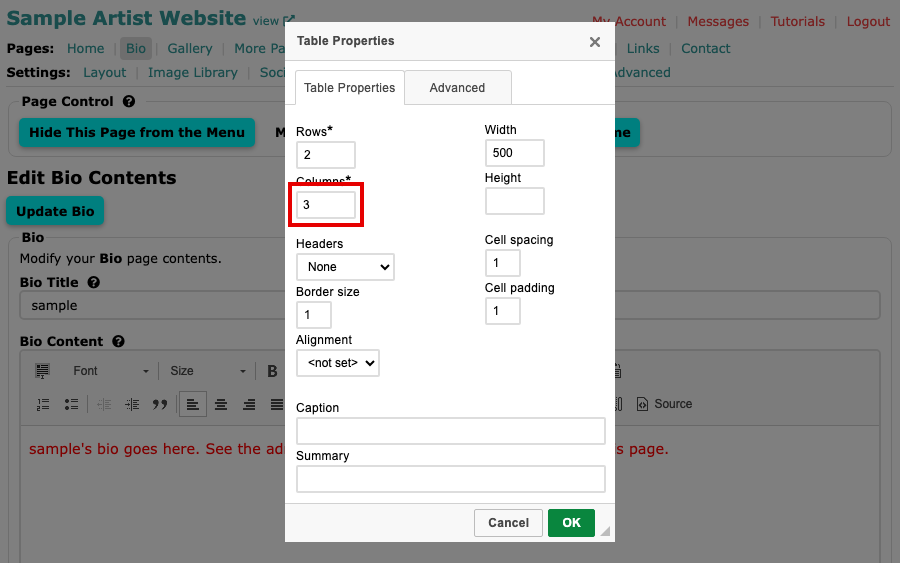
The Columns box showing 3 Set Border size to 0 if you do not want lines around the cells, so the table works as an invisible grid. A larger number draws a line that thick.
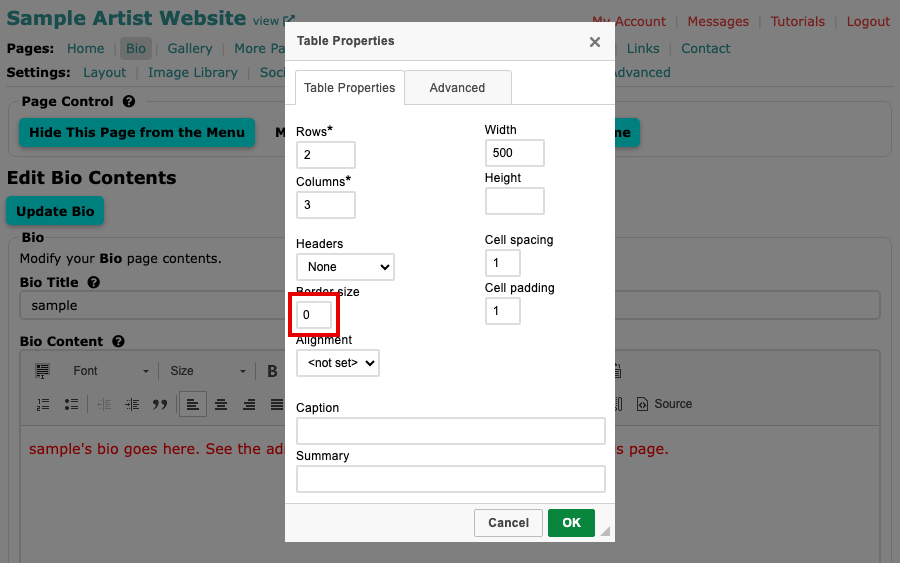
Border size set to 0, with Rows 2 and Columns 3 above it Select OK. The table appears in the text, with dotted outlines in the editor that visitors do not see.
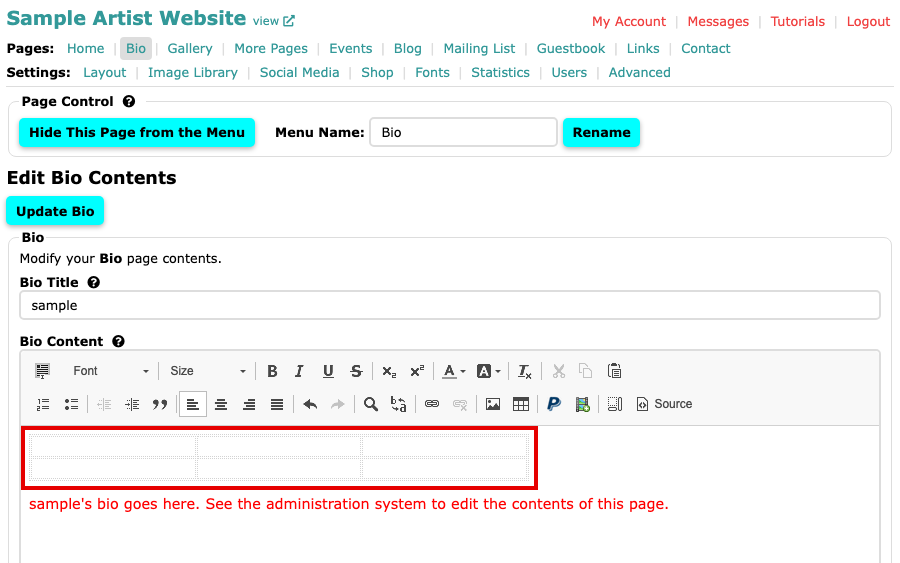
A two by three table at the top of the Bio editor Click in a cell and fill it with text, an image or a video. Select the page's own button, such as Update Bio, to save.
Add more rows or columns
Right-click in a cell to open a menu. Under Row, choose Insert Row Before, Insert Row After or Delete Rows. Under Column, choose Insert Column Before, Insert Column After or Delete Columns. Table Properties in the same menu reopens the box above, and Delete Table removes the whole table.
Your table is on the page. To join cells into one, see Merge Table Cells.