Add another person to your account, for example a partner who looks after the accounts or an assistant who updates your pages.
Before you start: have the person's name and email address ready.
Select Users in the Settings menu. Website Users lists the people on your account and what each can do.
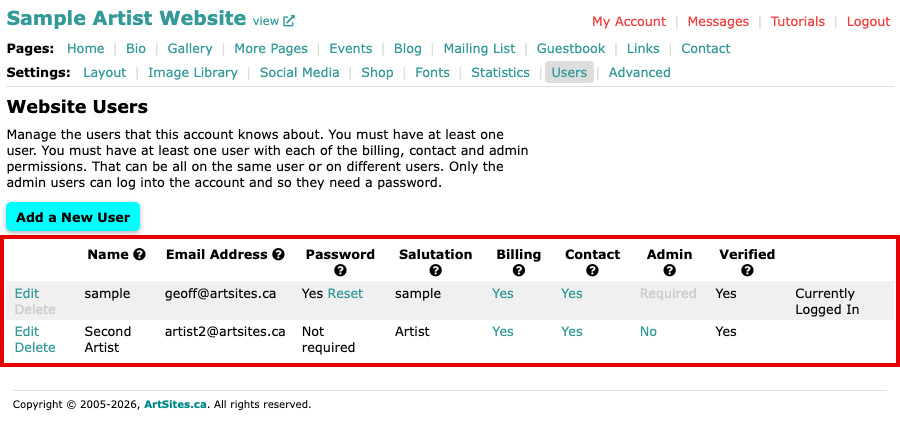
The Website Users screen, with the list of users and the Add a New User button Select Add a New User. The Add a User form opens.
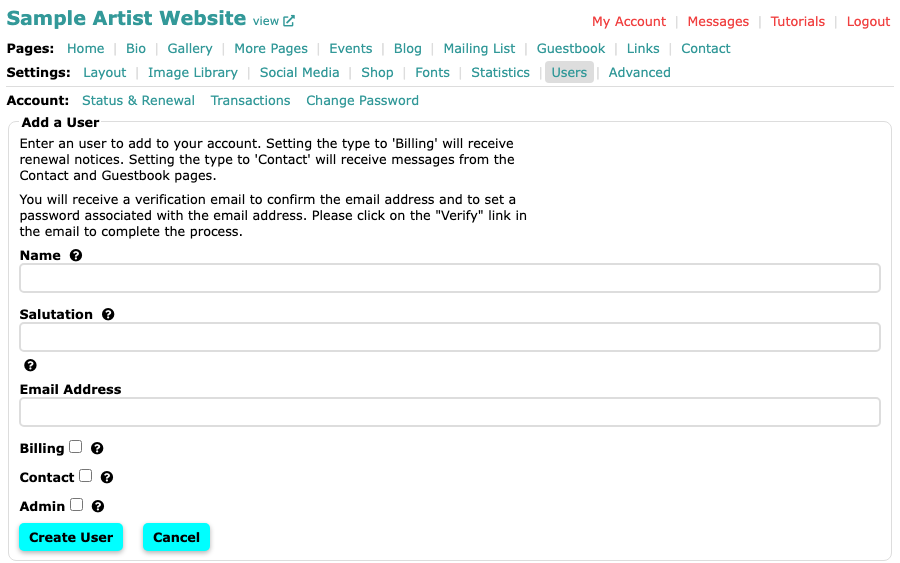
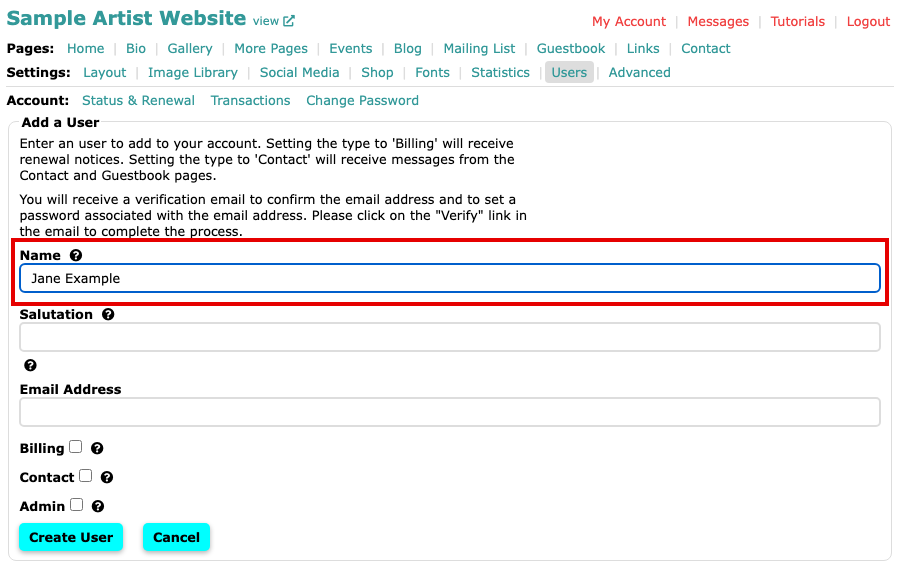
The empty Add a User form Type the person's full name in Name.
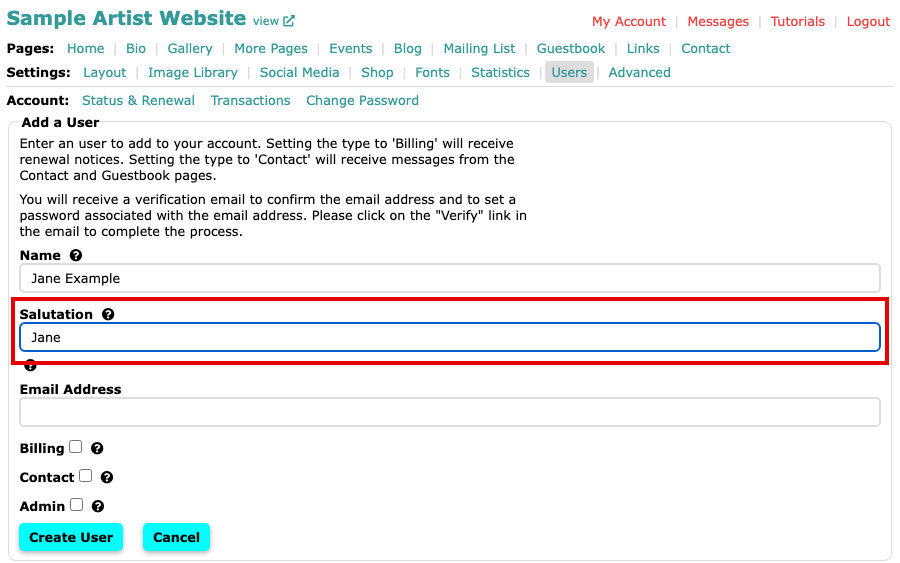
The Name field with a name typed in Type a short name to call them in Salutation, usually a first name.
The Salutation field with a first name typed in Type their email address in Email Address.
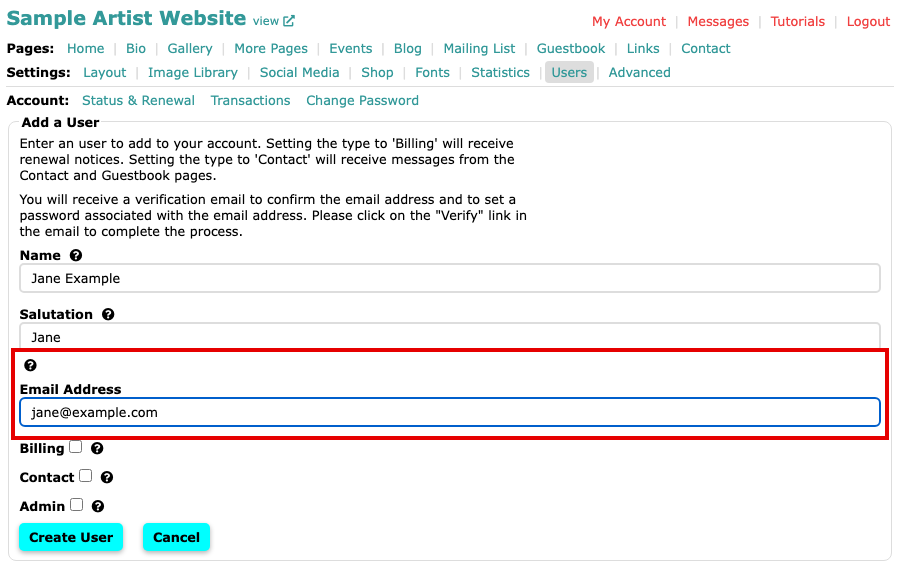
The Email Address field with an address typed in Tick what they should do, then select Create User:
- Billing: they receive your renewal notices.
- Contact: they receive the messages visitors send from your Contact and Guestbook pages.
- Admin: they can sign in to your admin and make changes.
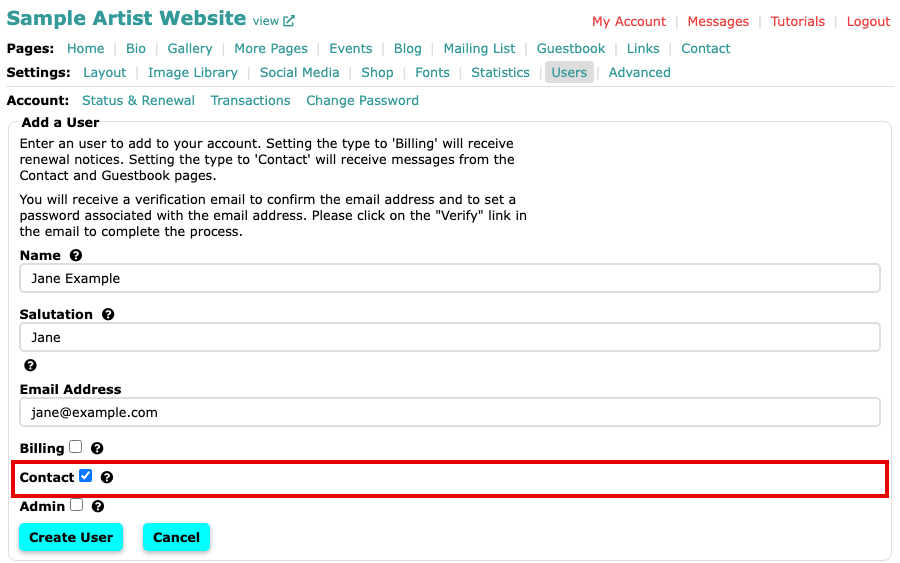
The Contact box ticked, with the Create User button below
The screen says New User added. Verification email sent. The person selects the Verify link in that email to confirm the address belongs to them. If you gave them Admin, the link also lets them choose a password. Until they verify, the Verified column on the Website Users screen shows how long the link lasts, and selecting it sends the email again.
Your account always needs at least one person with each of Billing, Contact and Admin. One person can have all three. Use Edit on the Website Users screen to change a person's details. Delete is greyed out for you while you are signed in, and for the last person holding any of the three.
If your Settings menu has no Users item, your plan does not include it. Our pricing page has the plans.